Place Your First Product
A set of sample products and accessories is provided with PlanogramBuilder. This lets you test the application without having to add your own products.
To create your first planogram:
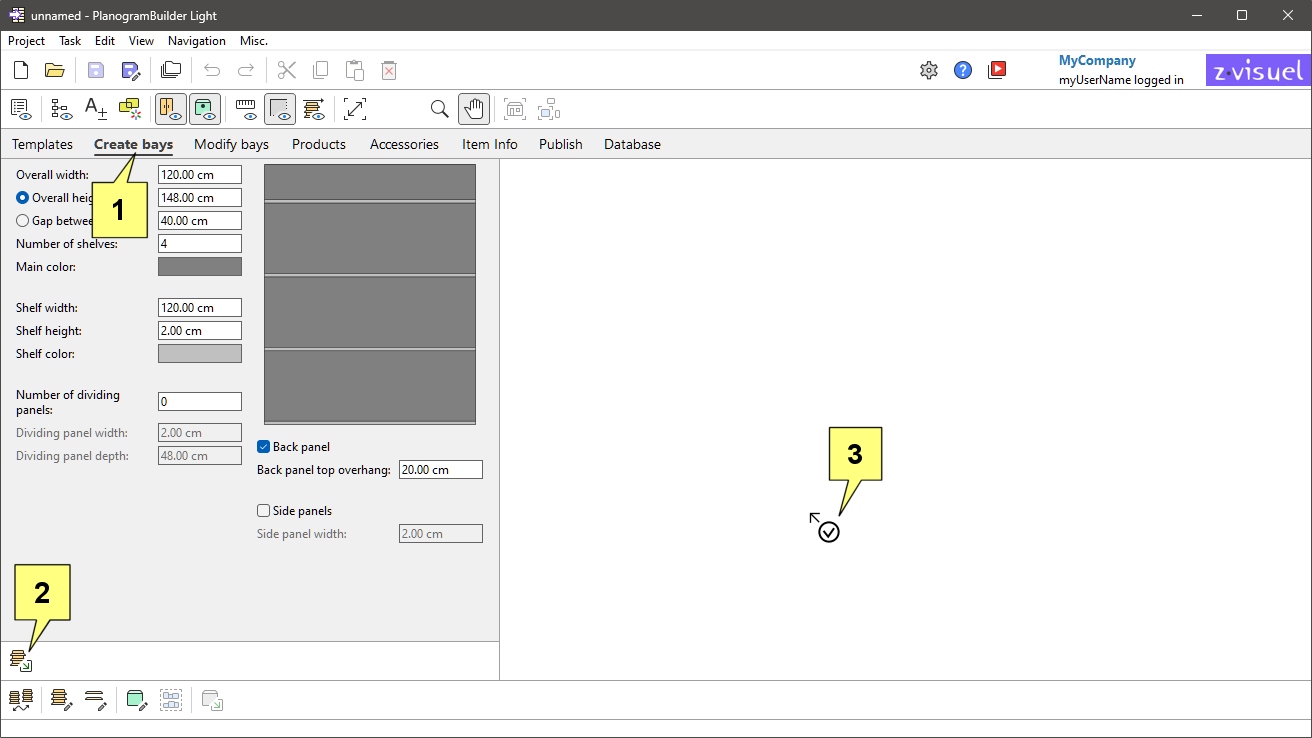
- After logging in, click on the task named Create bays.
- Click on Insert the bay to place the new shelf unit in your planogram. (You will learn later how to customize shelving.)
- Place your mouse cursor (shown as a specific cursor) in the visualization area where you want to add the bay. Click the left mouse button to confirm and create the bay.
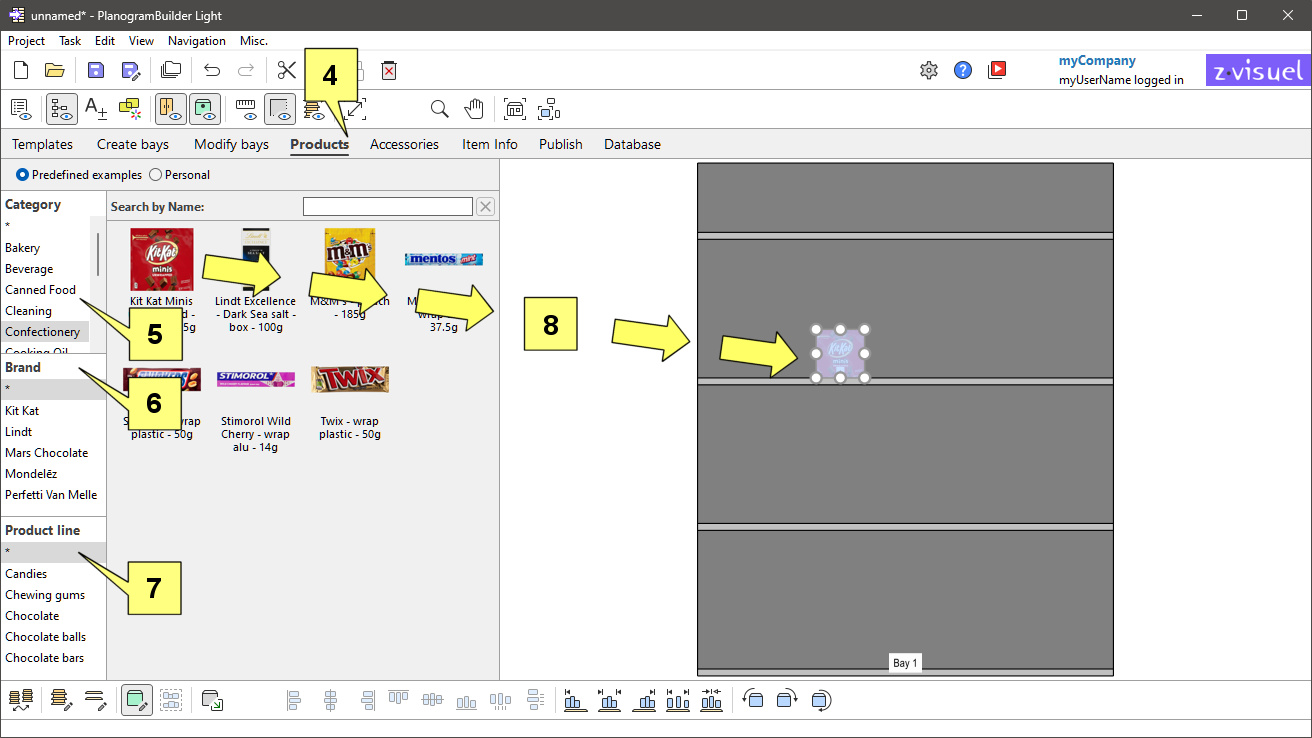
- After the shelf unit has appeared, click on the task named Products.
- Checkmark Predefined examples above the catalog.
- On the left of the screen in the hierarchical list, under Category, click on Confectionery.
- Under Brand, click on asterisk (*) to display all the brands.
- Under Product line, click on asterisk (*) to display all the product lines.
- Press and hold your mouse cursor over a product thumbnail in the catalogue, then Drag & drop the product onto a shelf in the visualization area. (You will learn later how to use your own products.)
- You can now try to add more products and rearrange them on the shelves with the mouse.