Materials
You can apply materials to make room elements look more realistic.
Material catalog
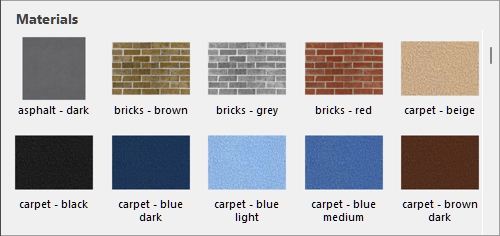
The materials are listed in the catalog as shown below.
Two catalogs of materials are available, using radio buttons for the choice:
Predefined examples (Material catalog)
This catalog contains ready-to-use materials provided with the software. These materials can be assigned to Predefined (New room elements).
Personal (Material catalog)
This catalog contains materials added to your database by yourself or by your colleagues.
For example, you can import a floor plan image of your sales surface, then apply it to a floor element and use it as a basis to construct your room in 3D.
cf. Material for a detailed description and New item for instructions on adding such materials to your database.
Apply materials to an element
- Select to display Predefined examples (Material catalog) or Personal (Material catalog).
- Find the desired material in the catalog.
- Drag the material thumbnail onto the desired structural element in your planogram.
- The material is now applied to the element or to one of its surfaces.
Notes:
- Floors, ceilings and blocks can have 1 material.
- Walls can have 2 materials, one for each side of the wall. To apply a material to the desired side of a wall, make sure to orbit the view so that the desired side is visible before dragging the material onto it.
- Custom room elements added to your planogram from Personal (New room elements), meaning those you created in the database, cannot be assigned materials in Parameters (Selected room elements). Their colors and images must be defined either in Database > Item properties, or optionally also directly in the 3D model for Custom 3D Shapes.

Example of a room with a combination of room elements and materials.